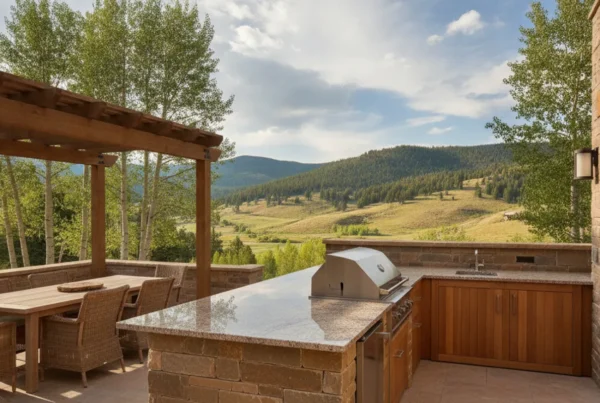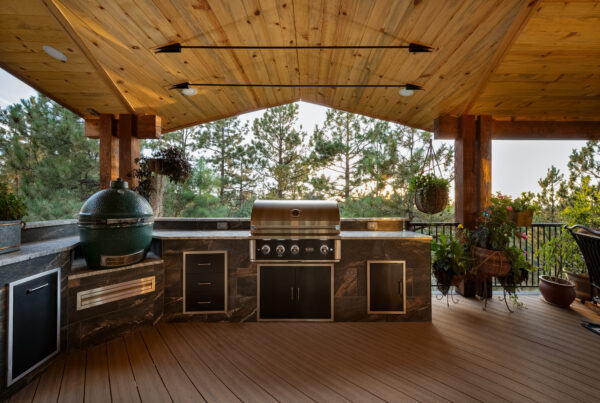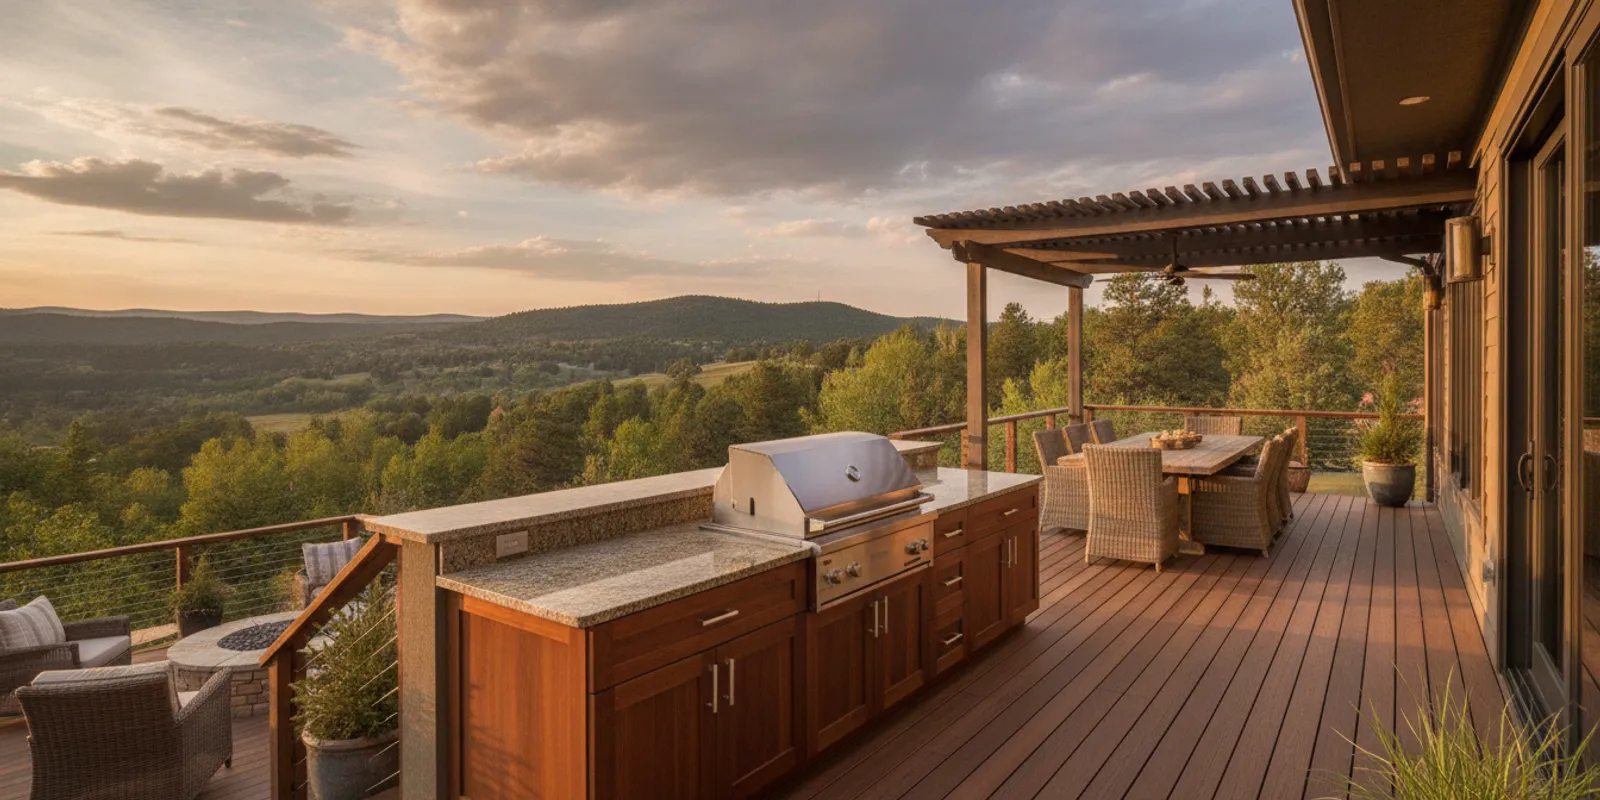
The best outdoor kitchen ideas begin with how you want to use the space, not with a catalog of appliances. In Colorado, the plan also needs to respond to sun, wind, changing weather, site slope, and the way the kitchen connects to the house and deck. Whether you picture a focused cooking station or a place to host a long dinner, a well-considered design should feel comfortable, useful, and part of the home.
Begin with the evening you want to have
Before choosing a grill, counter, or cabinet finish, picture a real evening in the finished space. Think about who is there, what you are cooking, where the food comes from, and what guests do while it is being prepared. A kitchen for weeknight dinners has different priorities from a space used for larger gatherings. This first exercise keeps the project centered on your life rather than on equipment that may look appealing but rarely earns its place.
Walk through three moments: bringing food outside, preparing and cooking, and serving and clearing away. Imagine carrying a tray from the indoor kitchen. Where can you set it down? Where will raw ingredients wait? Is there room to plate food without moving a hot pan? How does someone reach the table without crossing directly behind the cook? These simple questions reveal whether the basic arrangement is sound.
Then rank your main uses. You may want an outdoor dining room, a place for a family cookout, and a beautiful view all at once, but the deck has finite space. Identify the two or three experiences that matter most. If easy weeknight use is first, convenient prep and a short supply route may matter more than a large gathering island. If hosting is central, a generous serving surface and a separate guest zone may be more valuable than specialty cooking equipment.
- For frequent everyday cooking: keep the primary cooking appliance, preparation area, and essential tools close together. Favor a layout that can be used without a large setup routine.
- For hosting: create a natural place for guests to gather where conversation is easy but the cook has room to work.
- For a view-focused deck: preserve sightlines from the house and seating. Avoid turning a counter, tall screen, or roof support into an unnecessary visual barrier.
- For a family space: keep the busiest route to doors, stairs, and seating clear of the active cooking area.
- For a flexible space: prioritize usable counter and open floor area before adding equipment with a narrow purpose.
These uses can overlap. The design task is to make the priorities work together without filling every available inch. A kitchen that leaves room for dining and movement often feels more generous than a larger installation surrounded by tight circulation.
Read the deck and site before drawing the kitchen
The deck is not a blank sheet. Its shape, elevation, access, structure, views, and relationship to the house all influence where a kitchen can work. Begin by noting fixed conditions: door locations, stairs, railings, changes in level, roof supports, windows, drainage paths, and the edge of the deck. Add the routes people already use to reach the yard or move between the house and outdoor seating.
Next, observe the conditions at the times you expect to use the kitchen. A spot that is pleasant in the morning may be exposed to strong afternoon sun. Wind can change how comfortable a dining seat feels and how smoke behaves near a wall or overhead structure. In a foothills setting, the grade and access around an elevated deck can also shape construction and utility planning. These observations do not replace design review; they give the planning conversation a useful starting point.
Consider the view from several points: inside the home, from the dining area, and from the yard. The back of a cabinet run or the side of a refrigerator can become prominent if it faces the main approach. That may be acceptable when the design treats it as a finished elevation; it may feel accidental when the kitchen was planned only from the cook’s position. The goal is to make the installation feel intentional from all the places where people will see it.
If the kitchen is part of a new deck or complete rebuild, plan the two together. Structure, utilities, stairs, railing, drainage, and overhead coverage can affect one another. An existing deck is not automatically suited to every proposed layout or load. A project-specific assessment should establish what the actual site and structure can support before final placement is assumed. For a broader look at structural coordination, see this overview of deck engineering considerations in Colorado.
Compare outdoor kitchen ideas by the way people move
Layout names are useful, but the shape alone does not tell you whether a kitchen will work. The better test is how the cook, guests, and people carrying food move around it.
A straight run keeps the footprint focused
A single line of counter and appliances can suit a narrower deck or a plan that should preserve open floor area. It may sit along a wall or at the edge of a covered area, with the main cooking appliance and adjacent preparation space arranged in one sequence. Its compact shape can make the dining side of the deck easier to organize, and it avoids a corner that can be hard to access.
Its tradeoff is that the cook and other people may share one long path. Guests waiting to serve themselves can stand where the cook needs to move. A straight run also has limited room to separate dirty dishes, raw ingredients, and finished food if the counter is short. Map the work from one end to the other and decide where groceries, preparation, cooking, plating, and cleanup will happen. If the run cannot support the sequence, make the plan longer or consider a different form before filling it with appliances.
An L shape creates two working sides
An L-shaped kitchen turns a corner and can separate cooking from serving. One leg may hold the main appliance and preparation surface; the other may provide a landing zone, serving counter, or storage. This arrangement can define the outdoor kitchen within a larger deck without requiring a full-height divider. It can also let the cook face outward while guests approach from the side.
The corner needs careful thought. It can become a convenient turn in the work sequence, but it can also be a dead area if doors, appliance lids, or the railing interfere. Check the actual dimensions, including space needed to stand and work. Look at the kitchen from the dining side as well as the cook’s side. An L that neatly frames the kitchen may also close off a route or view if its longer leg is placed poorly.
A U shape can support a focused cook
A U-shaped plan places counters on three sides and keeps several tasks within reach. It can make sense when the deck is broad enough and the household will use the extra preparation and serving surface. A cook can turn between tasks without carrying items far, and equipment can be grouped by function.
The enclosed feeling that makes the arrangement efficient for one person can make it less social or create a tight working area if the footprint is too small. Check how a second person can enter, whether someone can pass behind the cook, and how the plan relates to nearby dining. A U shape should have a clear purpose; it is not automatically better because it adds counter space. Where guests tend to gather around the cook, an open side or peninsula may feel more welcoming.
For a wider comparison of kitchen planning approaches, the company’s functional outdoor kitchen design guide is another useful planning resource.
Build a work sequence into your outdoor kitchen ideas
Think of the kitchen as a sequence of zones: receiving and cold storage, preparation, cooking, serving, and cleanup. Not every project needs a dedicated appliance or fixture for every zone. The point is to provide a practical landing place and a sensible route for each task. A grill with no nearby counter can be frustrating. A refrigerator placed across a busy walking path can interrupt everyone. A sink may be useful, but it also brings utility and drainage questions that should be resolved in the project plan.
Write down the steps for a meal you actually make outdoors. For example: bring ingredients from the house, set them down, wash or prepare them, season them, cook, plate, and carry portions to the table. Note where each step happens and what needs to be within reach. Repeat the exercise for cleanup. If the plan relies on someone carrying every dish indoors because there is no landing space, that may be acceptable; if cleanup is a regular friction point, it deserves attention before the layout is fixed.
- Receiving: identify where bags, coolers, or trays first arrive. A small landing surface can prevent groceries from being set on a chair or floor.
- Cold storage: decide whether dedicated outdoor-rated refrigeration is valuable for your routine or whether indoor storage and a serving surface are more practical.
- Preparation: protect a continuous surface for chopping, seasoning, and arranging food. A narrow strip between appliances may not be enough for the way you cook.
- Cooking: position the selected appliance with its required clearances, opening movement, ventilation needs, and access in mind.
- Serving: provide a clear place to set down finished dishes. It should connect naturally to the dining area without forcing guests into the active cooking zone.
- Cleanup: decide whether the project includes a sink, waste storage, or simply a route back inside. Any water or drainage work needs to be assessed for the actual site.
Then divide equipment into three groups: essential, useful if space allows, and unlikely to be used often. The essential group should support your real cooking habits. A side burner, extra refrigeration, or specialty cooking feature may be worthwhile for a household that uses it regularly, but each addition takes space and may add utility or service considerations. Be honest about whether you want to maintain it and whether it solves a recurring problem.
Before cabinet dimensions are finalized, make an appliance schedule. Record the make and model under consideration, product dimensions, opening clearances, utility needs, outdoor-use designation, and required access for service. Specifications vary by model and can change; confirm the actual selection before construction details are set. This step is more reliable than designing around a generic grill symbol and hoping a preferred model fits later.
Choose counter space for the work, not just the photograph
Countertops shape the look of the kitchen, but the first question is how much usable surface the household needs. A broad uninterrupted area can support preparation, plating, and serving. Several small counter fragments may add up to the same measurement but be less useful if appliances divide them. Decide where the primary work surface belongs and protect that area as the design develops.
Test your routine with objects that have familiar sizes: a cutting board, a serving tray, a plate, and the tools you normally use. You do not need to commit to a precise dimension from this exercise. It helps show whether the counter has a realistic landing area and whether the cook will be reaching around handles or guests. Consider a second surface for serving if the main prep area must stay clear while cooking.
Material selection should account for exposure, expected use, the support beneath the surface, and the maintenance approach you are comfortable with. Compare specific products rather than relying on a broad material label. Ask how the candidate responds to sun, moisture, temperature changes, staining, and ordinary cleaning. Confirm the manufacturer’s guidance for the intended outdoor application and installation. A sample seen under indoor lighting may look quite different on a sunlit deck next to the house siding and flooring.
Color and texture matter across the full view. A counter can echo a deck or exterior finish, create deliberate contrast, or make the kitchen feel like a distinct destination. Bring samples outside and look at them at more than one time of day. Compare them with the deck boards, railing, cabinet fronts, and the home’s exterior instead of selecting each finish in isolation. If the deck surface is part of that palette, the guide to choosing composite decking in Colorado can help frame the comparison. A restrained palette can feel composed even when the materials have different textures.
Decide whether shade or a cover belongs in the plan
Shade can make cooking and dining more comfortable, but an overhead structure changes more than sun exposure. It affects the character of the outdoor room, the view of the sky, drainage, and how smoke and heat need to be managed. Compare the open conditions on the deck with the protection you want at the times you will use it. A roofed cover, a pergola, and an open deck create different experiences; no one option fits every property.
Observe the sun at the hours that matter. If dinner usually happens in late afternoon, note where the sun falls on the grill and seating at that time. If the kitchen is used mostly at midday, consider how shade could cover the work area without making the house feel dark or closing off a view. Think about wind, too. The most comfortable spot for guests may not be the best place for cooking, and the effect of an overhead structure should be reviewed with the chosen appliance.
Do not assume that any grill is suitable beneath any roof or cover. Appliance instructions, ventilation, clearances, local requirements, and the design of the overhead structure need to be considered together by the appropriate professionals. Smoke can collect or travel differently beneath a covered area, and heat must be addressed for the actual equipment and setting. Make the cooking and cover decisions as one coordinated plan rather than adding a roof after the kitchen is already fixed.
For a closer look at two common overhead directions, compare the company’s guides to a covered deck and a pergola and to wood and motorized louvered patio covers. Use the comparisons to clarify what kind of light and shelter you prefer, then review the specific structure and site together.
Layer lighting for preparation, dining, and movement
Outdoor kitchen lighting has several jobs. The cook needs to see the preparation and cooking areas; diners need comfortable light at the table; and everyone needs to understand the route between the house, kitchen, stairs, and seating. A single bright fixture may illuminate one surface while creating glare or shadows elsewhere. Plan the layers around the activities and the places people stand.
Start with task lighting. Identify the counter and cooking surfaces where clear visibility matters, then consider how a person standing at the worktop could block a light source. The fixture position should be coordinated with the overhead structure, appliance location, and likely direction of work. Include lighting decisions early enough that wiring routes and controls can be considered before the surfaces are finished.
Also think about low-level or route lighting where it helps people see changes in level or find their way through the deck. Coordinate fixture placement with railing, stairs, structure, and the materials selected for the project. Outdoor exposure and product requirements matter, so the actual fixture choices should be confirmed for the intended location.
Finally, view the proposed lighting from inside the home. The deck may be visible through windows after dark. A thoughtful plan can make the outdoor kitchen feel like an extension of the home while preserving the quiet of the landscape. Ask how each layer will look from the cook’s position, the table, and indoors; what feels bright enough at the counter may be too intense when seen from a living room.
Coordinate utilities before the footprint is locked
Utilities can influence the kitchen layout, structure, and project sequence, so identify likely needs before the footprint is finalized. Depending on the chosen equipment and features, a plan may need to address fuel, electrical service, water, or drainage. The exact requirements depend on the selected products and property. An existing connection should not be assumed to have the right capacity, location, or suitability for a new installation.
Make a utility sketch alongside the layout. Mark where connections might enter the kitchen, where shutoffs or service points could remain accessible, and how routes relate to framing, footings, stairs, railing, drainage, and any under-deck system. A line that appears easy to run from above may conflict with a structural member or affect access below. On a sloped site, grade and access may add further coordination questions.
If water is part of the plan, discuss both supply and drainage. A sink is not only a fixture choice; its installation changes the utility plan and may affect the design of the deck and cabinetry. Decide whether the convenience is important enough for your routine, then confirm what the site and applicable requirements allow. If you decide not to include a sink, establish where cleanup will happen and how dishes and supplies will move between the outdoor kitchen and the house.
Permitting and other requirements depend on the actual parcel and authority. A rule or process that applies in one jurisdiction should not be assumed to apply everywhere in Colorado. Confirm project-specific questions with the authority that has jurisdiction and with the appropriate professionals. The purpose of early coordination is to identify the questions before a finished surface or cabinet run limits the available options.
Include maintenance access and water management in the same conversation. Service points should not disappear behind fixed cabinetry, and the kitchen should not redirect water toward a door or the main gathering area. A coordinated plan considers the kitchen, deck, overhead structure, and area below it as connected parts of one outdoor space.
Connect the kitchen to dining and the rest of the deck
An outdoor kitchen works best when it belongs to a larger plan for the deck or covered outdoor room. Think about the dining table, lounge seating, stairs, railing, views, and doors together. If the kitchen crowds the table or interrupts a route people use every day, it may make the whole outdoor area less comfortable, even if the cooking zone itself looks polished.
Mark the footprints of the kitchen, table, chairs, and primary routes on a plan. Include pulled-out chairs, appliance doors, and people standing at the counter. Then test a few ordinary situations: someone bringing dishes outside while another person cooks; two guests sitting at the table while someone moves to the stairs; or a group gathering near the serving counter. This exercise shows where paths overlap and whether there is enough space to pass without asking people to move constantly.
If the project involves a deck replacement or new construction, kitchen planning belongs alongside structural and site design rather than after it. The project may need to consider framing, footings, access, railing, drainage, lighting, utilities, and overhead coverage as related decisions. The deck-building journey from concept to completion offers context for how a larger project can progress through coordinated stages.
Compare planning directions before committing
These planning directions are not fixed packages or price quotes. A final design depends on the property, the selected components, and the applicable approvals.
| Planning direction | What it emphasizes | Questions to answer first |
|---|---|---|
| Compact cooking station | Primary cooking appliance, practical prep counter, nearby tools | Can the cook work without blocking the main route? Where will food be set down? |
| Host-friendly L shape | Separate cooking and serving surfaces within one footprint | Does the corner work with appliance clearances, railing, and circulation? |
| Peninsula or island arrangement | A gathering edge between cooking and dining | Can people sit or stand there without creating a bottleneck? |
| Covered kitchen and dining area | Cooking and gathering beneath an overhead structure | How will shade, ventilation, smoke, drainage, and appliance instructions be addressed? |
| Deck-integrated entertaining space | Kitchen, seating, lighting, railing, routes, and views planned together | Does every feature support the way the household expects to use the deck? |
Use the comparison to eliminate options that conflict with the site’s fixed conditions. If a covered concept is appealing but the appropriate cooking setup beneath it is not yet clear, keep both questions open for project-specific review. If an island fits only by reducing the dining area to a narrow passage, test a peninsula or a simpler serving counter. The table is a way to ask better questions, not a substitute for measuring and design.
Watch for common planning mistakes
- Putting guests in the work path: give visitors a natural gathering place outside the cook’s main movement zone.
- Planning only for closed appliances: include lids, doors, drawers, and chairs in the open position when checking circulation.
- Adding a cover without evaluating the cooking setup: review ventilation, heat, smoke, product instructions, drainage, and the overhead structure together.
- Overbuilding the footprint: a large kitchen may displace dining, lounge seating, or the clear route that makes the deck enjoyable.
- Assuming one local rule applies everywhere: permits and site requirements depend on the property and the authority with jurisdiction.
- Treating the kitchen as a separate visual object: coordinate its proportions, materials, lighting, and exposed sides with the home and deck.
- Designing for an occasional event alone: a dramatic feature for a rare gathering should not make everyday cooking or movement harder.
A useful final check is to walk through a typical meal from start to finish. Imagine carrying groceries, preparing food, cooking, serving, dining, and clearing away. At every stage, ask whether the next surface or route is obvious. If an item has nowhere to land or a route depends on people moving out of the way, revise the plan while the choices are still flexible.
Move from inspiration to a coordinated design
Once you have a preferred direction, prepare for a project-specific planning conversation. Bring your ranked uses, approximate number of people who gather, a list of equipment you are considering, and observations about sun, slope, views, access, and wind. Inspiration images are useful when they show what you respond to, such as an open layout, a particular material mood, or a dining relationship. Treat them as a way to describe preferences, not as proof that the same dimensions or details will suit your home.
For Colorado Custom Covers & Decks, the published process begins with a free, no-obligation consultation and detailed estimate. Design, 3D plans, and engineering review follow after estimate acceptance. That distinction matters: an initial estimate is not the same as completed design or engineering. A project-specific plan can then be developed around the property and the homeowner’s priorities, with the contractor serving as a guide through the steps.
Discuss your outdoor kitchen project
Frequently asked questions
What is the best layout for a Colorado outdoor kitchen?
There is no single best layout for every home. A straight run can suit a compact footprint, an L can separate cooking and serving, and a peninsula or island can create a gathering edge when there is room to move around it. Choose by testing the layout against the deck, routes, views, selected equipment, and the way you expect to use the space.
Should an outdoor kitchen be covered?
A cover can change sun exposure and the character of the space, but the right choice depends on the site, desired openness, and cooking equipment. Review the overhead structure, appliance instructions, ventilation, smoke, heat, and drainage together. Do not assume every appliance is appropriate beneath every cover.
Which utilities should I plan for?
That depends on the selected appliances and features. A plan may need to address fuel, electrical service, water, or drainage. Have the relevant qualified professionals confirm actual requirements, routing, capacity, access, and applicable local requirements for the property and equipment.
Can an outdoor kitchen be part of a deck project?
Yes. The kitchen can be considered alongside a new deck or complete rebuild, with framing, utilities, railing, lighting, shade, drainage, and access coordinated in the larger plan. Early coordination helps identify conflicts before the layout and construction details are fixed.
How should I choose materials for changing weather?
Compare the actual products’ outdoor-use guidance, exposure suitability, care instructions, and appearance in natural light. Consider the site conditions, and view the deck, counter, cabinetry, railing, and cover materials as one palette. Product-specific guidance is more useful than assuming every product in a broad material category performs the same way.
The strongest outdoor kitchen is not the one with the longest appliance list; it is the one that makes cooking, gathering, and moving through the deck feel natural. Start with the experience you want, test the layout against the site, and coordinate the materials, shade, lighting, and utilities as part of the complete outdoor space.